DIY Litter Box Setups

For the past year of bunny ownership, I have been using a couple of litter box setups that are great at making it easy to dump used hay and poops regularly, help the litter beneath last longer before changes, and keep the rabbits’ feet nice and clean.
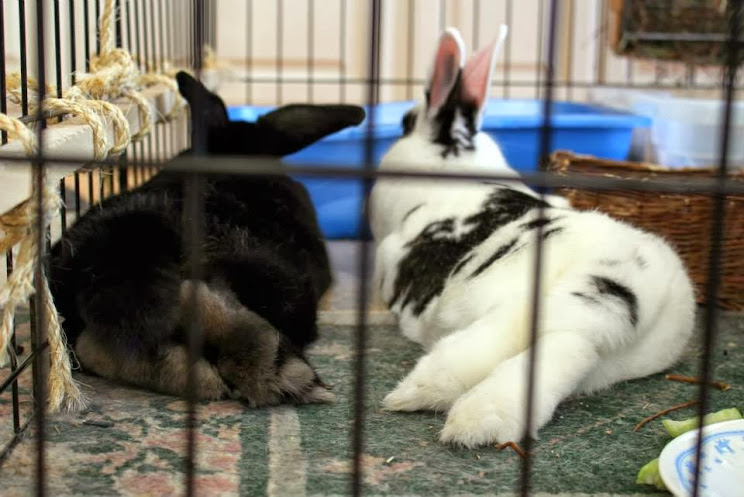
Clean rabbit feet. :3 And butts!
Please note that the following Amazon links in this post are affiliate links, and I will receive a small commission if you make a purchase after clicking on my link.
Materials needed:
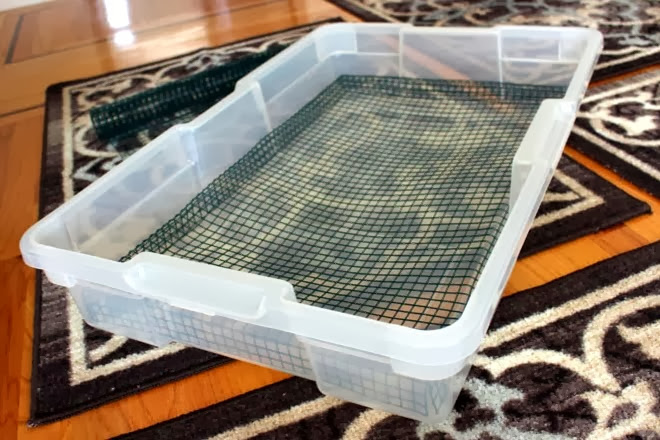
- Litter box. I personally use, among others, an underbed storage box, Rubbermaid Keepers Clear Box 43QT (20″ x 30.5″ x 6″) that I obtained on Craigslist, for my two bonded bunnies. It currently isn’t available on Amazon, but here is something similar. The other litter boxes I use are Van Ness medium and giant sized pans, also easily found in stores like Target or Walmart.
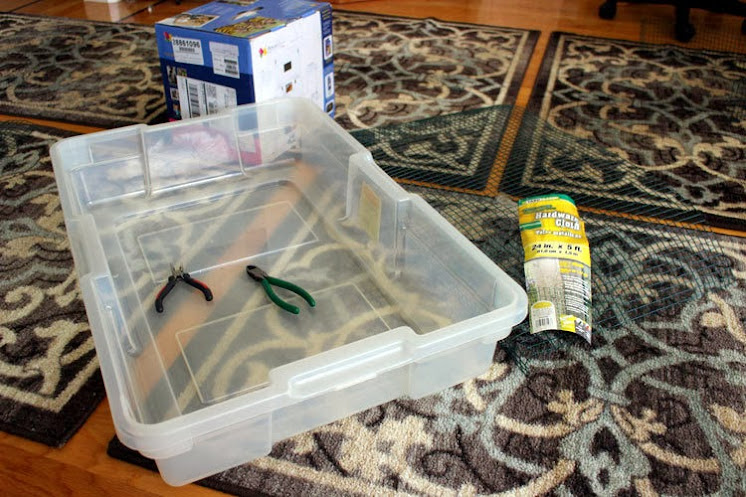
All the supplies I used.
- Hardware cloth. I bought the linked hardware cloth from Amazon for my current setup, but I have also previous bought it in store at Home Depot as well. Look for a hardware cloth that is PVC coated which will be gentler on a rabbit’s feet if the litter grate is not covered with plastic canvas. Otherwise, seek a material that will not corrode or rust when in contact with rabbit urine. The grate size should be no bigger than 1/2″ for worry of bunny toes getting caught in the holes.
- Wire cutters. These will be used to cut the hardware cloth to size.
- Needle-nose pliers. These will be used to turn in the sharp ends of cut hardware cloth so that they will not injure you or your bunnies accidentally.
- Sturdy box or other material with hard right angles. A plank of wood or the corner of a bookshelf or table could also work.
Plastic canvas from Walmart.
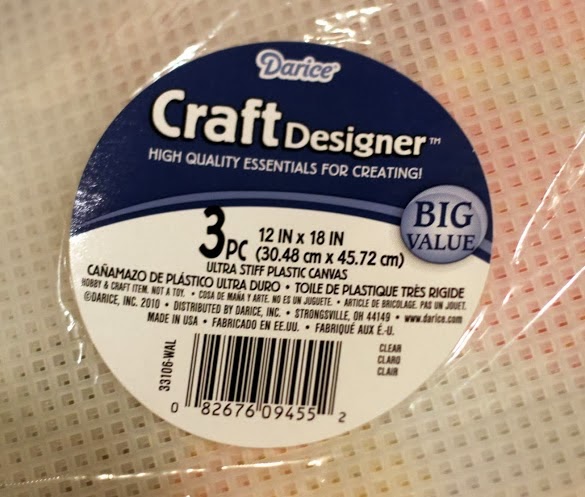
- Plastic canvas (optional). This can be overlaid on the hardware cloth grate if you fear that it may be too harsh on your rabbit’s feet or if you’d like to be able to catch poops and hay easily to dump out daily. It can be easily found in craft stores like Jo-Ann. I personally found these nice giant affordable plastic canvas sheets in the crafts section of Walmart for about ~$4 after tax.
Instructions:
-
Measure out and use the wire cutters to cut the amount of hardware cloth needed to fit the litter box you intend on using. Remember to leave extra around the borders for folding. For about a grate about 1.5″ off the bottom of the box, I left three grate squares.
Generally, you will want to have the grate at least 1.5″ off the bottom of the box for litter clearance and leave 4″ or more of the litter box side above the grate to discourage rabbits peeing over the edge.
-
Begin folding the hardware cloth using the edge of the sturdy box or your chosen substitute. As stated before, for about a grate about 1.5″ off the bottom of the box, I folded three squares.
To fold the corners, at the corners, cut off a section of 3×3 squares (or however many grate squares you decided to fold) as seen in the picture below. If you can’t cut the edges cleanly with the wire cutters, use the needle-nose pliers to bend the sharp wires inwards so you and the bunnies will not be injured on them.
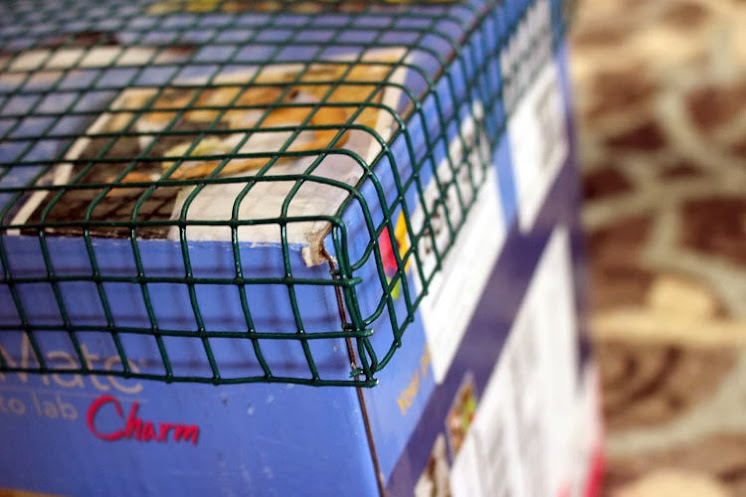
A folded corner of hardware cloth.
-
When you’re finished, the grate should easily be able to fit inside the box you’re using.
While some rabbit owners may choose to stop here, I was worried that my rabbits would get their toes and nails caught in the large holes in the wire. For their comfort, I decided to also add a layer of plastic canvas that I could empty out every day, so the entire box would only need to be changed once a week or less. Additionally, their poop would also quickly overflow the area underneath the grate when combined with the litter substrate before the litter was fully soaked.

Overlaid plastic canvas.
When using the plastic canvas, observe and make sure that the edges lie flush against the bottom and will not slide around when your rabbit jumps in and out. Otherwise, your rabbit will most likely want to start chewing on the plastic, which can be worrying if your rabbit ingests it as well. For the underbed storage box, there were uneven sides that allowed me to cut out notches that the plastic mesh would hook into to prevent it from moving around.
The way I set up the underbed storage litter box now is first pour in some pine pellets, prep it with water, add in the grate, and then overlay the plastic canvas. I clean it daily by dumping out hay and poop collected on top of the plastic canvas and scrub off smashed in poop as necessary. I will also double check on the usage of the pine pellets beneath and either scoop out and replace saturated litter, rotate the box to even out usage, or replace the entire box if the litter is completely soaked.
As a last note, for the smaller Van Ness litter boxes, I had also made a hardware cloth grate to use but realized that just using the plastic canvas alone on top of the pine pellets works as well. I had also noticed that using the plastic canvas on top of the grate for smaller boxes allowed it to slide around and get kicked out as the rabbits jumped in and out of their litter boxes.

With plastic canvas without the grate.
The plastic canvas obtained from Walmart were the right dimensions to fit right in giant Van Ness litter boxes without trimming, while the medium Van Ness litter box required a little trimming of the edges.

Squishy sitting in his litter box.
For more resources on litter box setups, check out the WabbitWiki page on litter training. To make a hay rack seen in the first picture with Bao Bao and Luna, see my DIY Hay Rack post.
Happy DIYing!
January 14, 2016 @ 1:42 pm
This is a great DIY litter box for bunnies. I’m going to have to look into making one for my bunny.
Thanks for sharing!
July 25, 2017 @ 8:43 pm
This is a great idea. However, if the bunny keeps jumping on the hardware cloth, wouldn’t it just create a dip it in
March 6, 2018 @ 9:42 pm
The bunnies may make a small dent, but they’re not heavy enough to make it sag that much.
August 4, 2017 @ 12:13 pm
Won’t the canvas smell from poops and urine? I think I would rather do a full change without the canvas so it wouldn’t smell as much. Especially the urine smell.
March 6, 2018 @ 9:41 pm
No, if you rinse it regularly it gets stained but doesn’t smell. I mainly got tired of cleaning off the hay that would get stuck between the holes, so I’m back to the classic litter + hay litter box now 3 years later. 🙂
April 24, 2018 @ 11:18 am
Hi there! My name is Christine, and I came across your blog as I was looking for DIY hay rack ideas. I just wanted to reach out because I recently started a blog of my own (blog.christinehu.org), and I thought it was *so* funny that both of us happened to write about computer science + bunnies! Like, what a niche combination of interests. Anyway, I just wanted to say hi because I was so excited when I found your blog!