DIY Hay Rack

I previously made a hay rack for Bao Bao & Luna with two NIC panels and decided this past weekend that Squishy needed his own to keep the hay wastage down as well as make it easier to track his hay consumption. Since Squishy is such a tiny rabbit, I chose to use only one NIC panel to make his rack. And because I did a terrible job of taking good progress pics with my previous hay rack, I sought to improve this time around. 🙂
Let the instructions begin!
Please note that the following Amazon links in this post are affiliate links, and I will receive a small commission if you make a purchase after clicking on my link.
Materials needed:
- Large piece of cardboard. Seek to obtain a piece at least 10″ wider and 3″ taller than the grate you are using. e.g. For a one NIC panel hay rack, use a 24″x17″ piece of cardboard. For a two NIC panel hay rack, use a 38″x17″ piece of cardboard.

Supplies I used.
- NIC panels or other grate material. Make sure to select one that has holes small enough that your rabbit cannot fit its head through. Target sells a wire panel set with two different sizes, and my rabbits can fit their heads through the larger size. However, also make sure not to select a grate material with gaps too small, as your rabbit will be trying to eat hay through them. A good size is one- to two-inch squares.
- Sisal string, zip ties, or other rabbit-safe tying material. These will be used to tie the grids to the cardboard backing. I personally use sisal string (also sold as bundling twine) which can easily be found in home improvement stores like Home Depot.

Sisal string from Home Depot.
- Scissors. Use these to cut the cardboard and tying material.
- Shipping, masking, duct, or other strong tape. This will be used to tape up the bottom corners of the rack.
- Box cutter (optional). This will make it easier to score your cardboard folds. You can make do with a pair of sharp scissors or a knife if you do not own one.
- Pencil (optional). Throughout these instructions, you can choose to also draw lines on the cardboard to help you make more precise scores and cuts. Personally, I winged most of it without drawing.
Instructions:
-
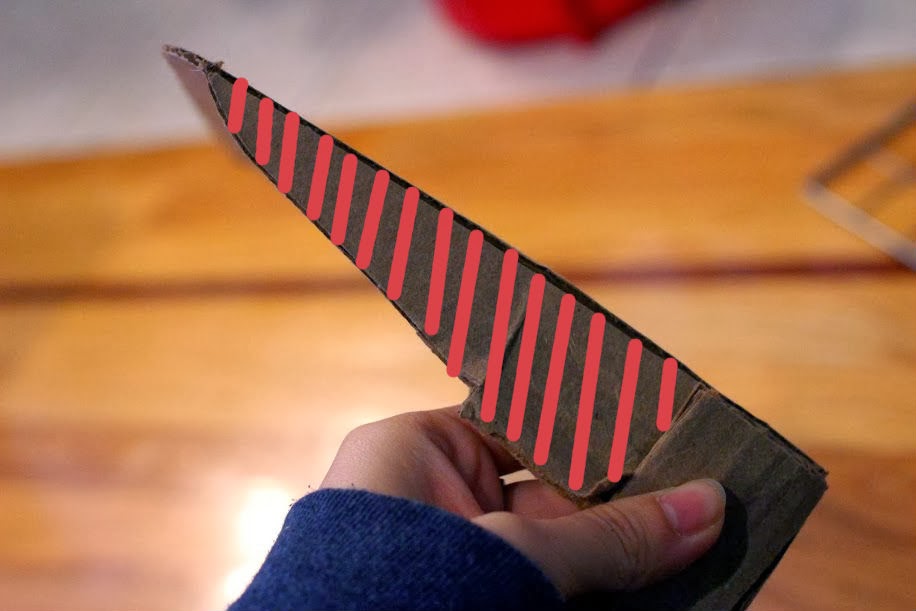
Decide which side of the cardboard you want as the inside and back of the hay rack. On the “back” side, place your grate centered against the top edge. With a box cutter, gently score or slice halfway through the cardboard along the edges of the grate, with the scores continuing past each other to the ends of the cardboard.
A diagram from the view of the “inside” side:
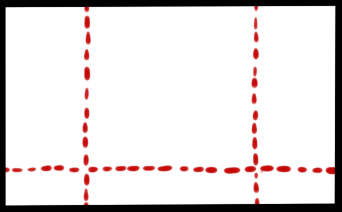
The red dotted lines are the scores on the “back” side. Later, you will be doing a valley fold along these scores.
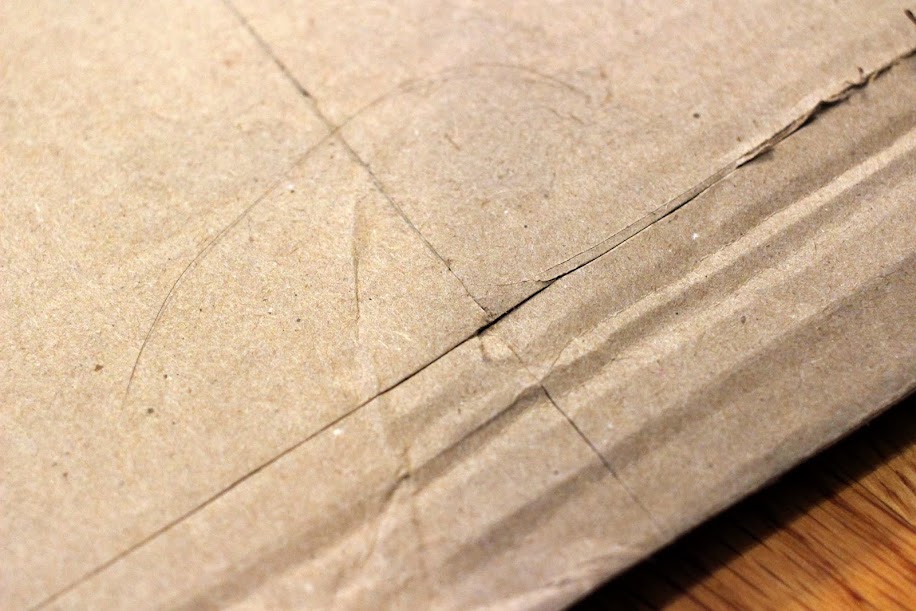
My implementation:
 I messed up a bit in this picture as I didn’t follow the horizontal scores to the ends of the cardboard.
 A closer look at the scoring:
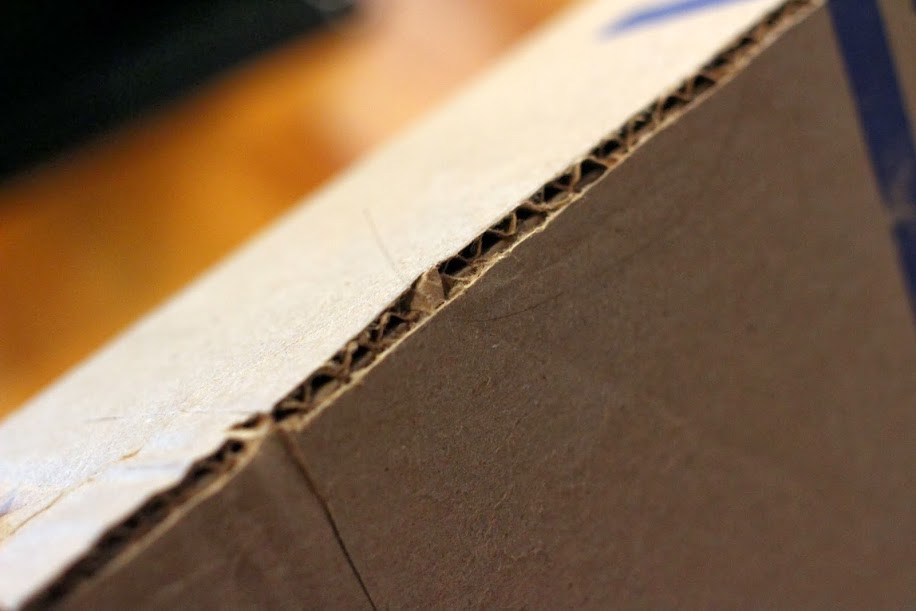
Check to make sure you can fold the cardboard along your score lines.
-
Next, we’ll work on creating the bottom corners of the hay rack. Repeat steps 2 and 3 for each corner.
A diagram from the “inside” side of the blue score you will be making in this step:

Later, you will be doing a mountain fold on the blue score.
See how you can detect a hint of the fold in the following picture:
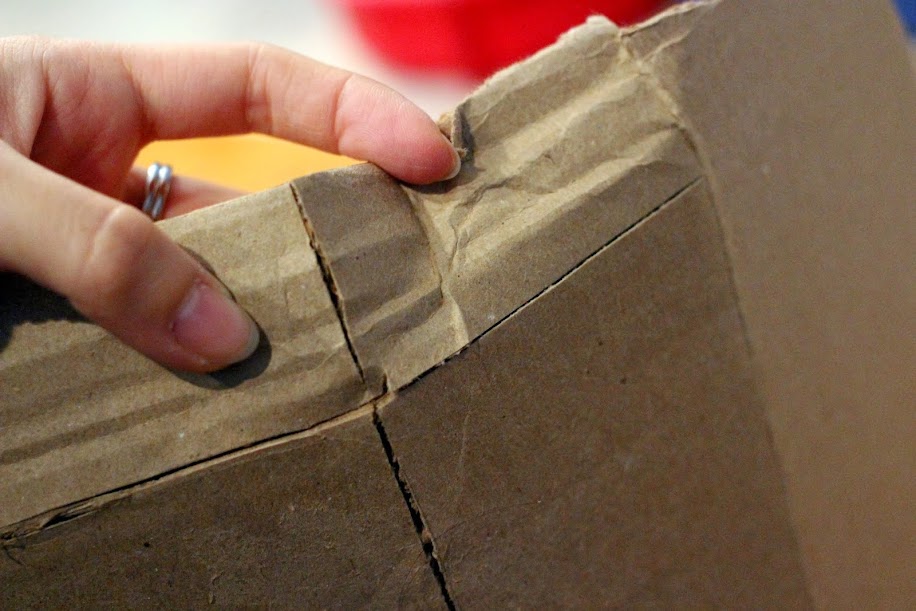
On the “inside” side of the cardboard, figure out where the score corners are and make a diagonal cut away from the score corner approximately the same distance away as the height of the score corner from the bottom edge.

I messed up a bit again in the above picture with the top initial score, but you get the idea. The top of the red bracket is where the score corner is on the “back” side. The height of the red bracket will be the length of the bottom edge of the hay rack. The blue bracket should be about the same length as the red bracket in order to fold the corner evenly. In the diagram at the beginning of the step, the length guideline is the gray line.
As a note, do understand that this rack is very forgiving of these mistakes, as you’ll see later. Even crooked scoring lines aren’t a big deal.
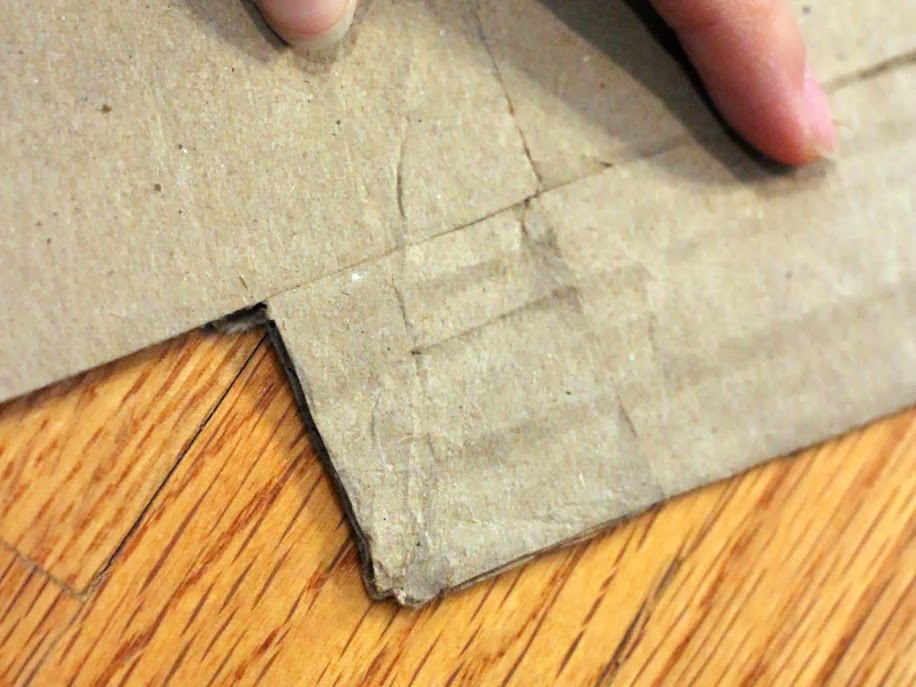
- Now, fold along all these score lines. You should be able to create a corner like the following:
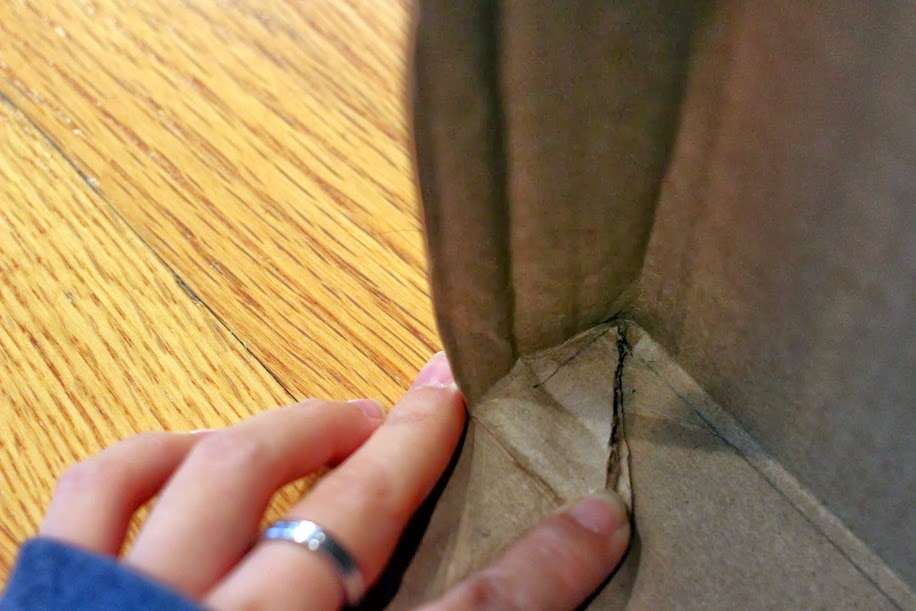
The other side should look like so:
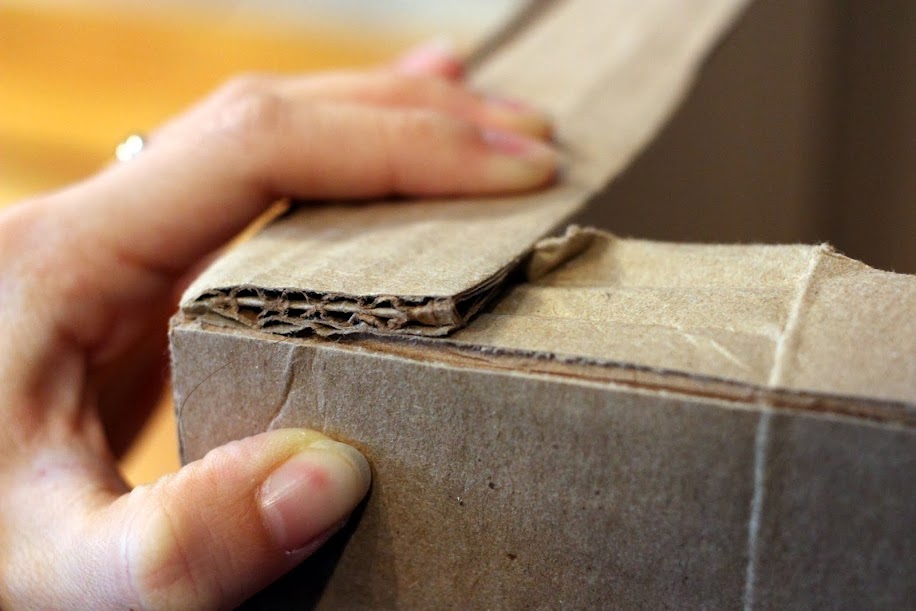
If you look at the folded corner from the bottom, you should notice a similar construction to the following picture:
The top diagonal edge will be the bottom of one of the sides of the hay rack. The part where my thumb is grasping is the bottom ledge of the hay rack. Next, what you want to do is cut off the portion of the cardboard that will not be part of the side or bottom ledge of the hay rack, as shaded in the picture below.
On the “inside” side diagram, the part you’re cutting off is the shaded gray part.

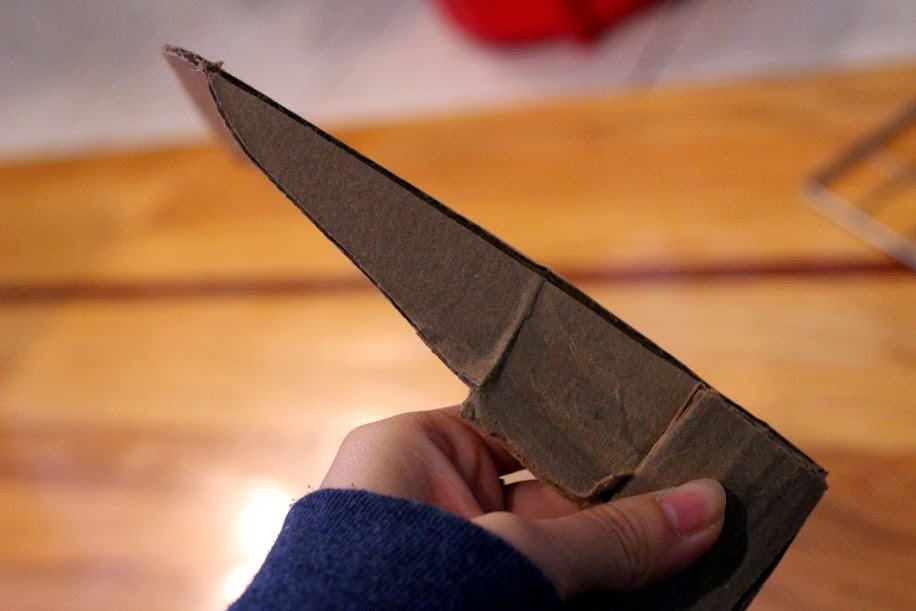
When you’re done, looking from the “back” side of the cardboard, the corner laid flat should look like so:
And when you look from the inside, notice how the portion to the left of my finger is all gone:

After repeating steps 2 and 3 on both corners, you should be able to fold out a nice bottom ledge of the hay rack.
-
Lay the cardboard flat again. Now we continue on to cut out the angled sides of the hay rack with the bottom depth less than the top depth. The reason for the angle is to encourage the maximum surface area for hay to be accessible for the rabbit. If it were straight vertical, hay at the top of the rack would be hard to reach if it didn’t fall down properly.
Place the bottom of your grate diagonally from the top corner of the previously cut out cardboard and angle it out to a satisfactory degree. Cut out the cardboard along this angle so you end up with something like this:
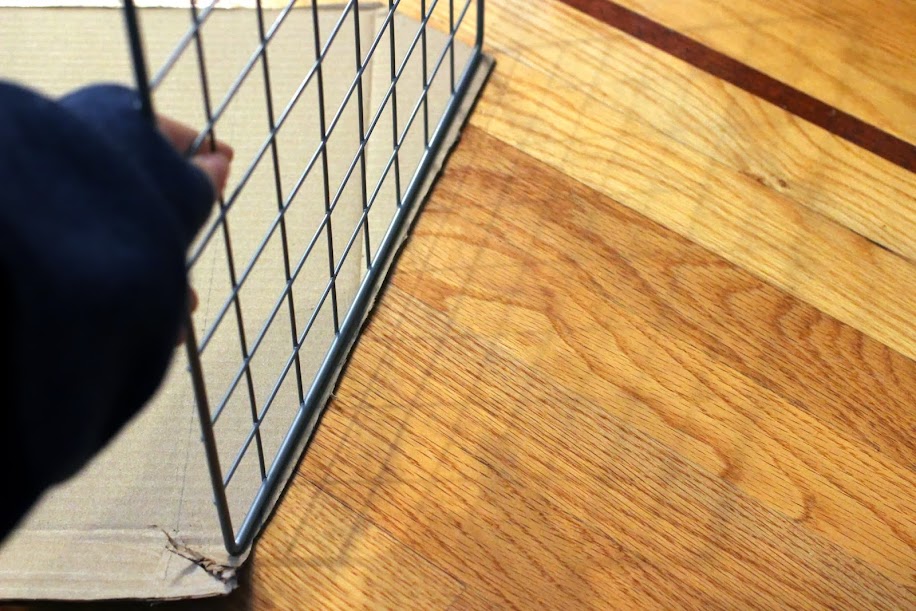
On the “inside” side diagram, the sections you’re trimming off in this step are the additionally shaded gray areas:

Assemble the hay rack along all the folds you have, and now attempt to follow the same angle on the other side of the hay rack and trim off the excess, as shown in the next picture.
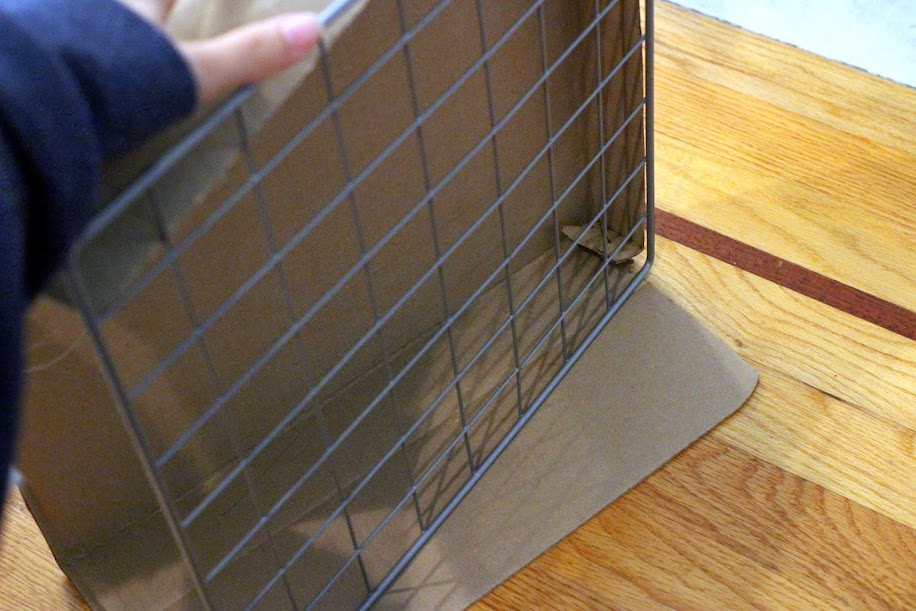
It’s fine if the two angles aren’t identical — as long as you can tie the grate on, you’re good.
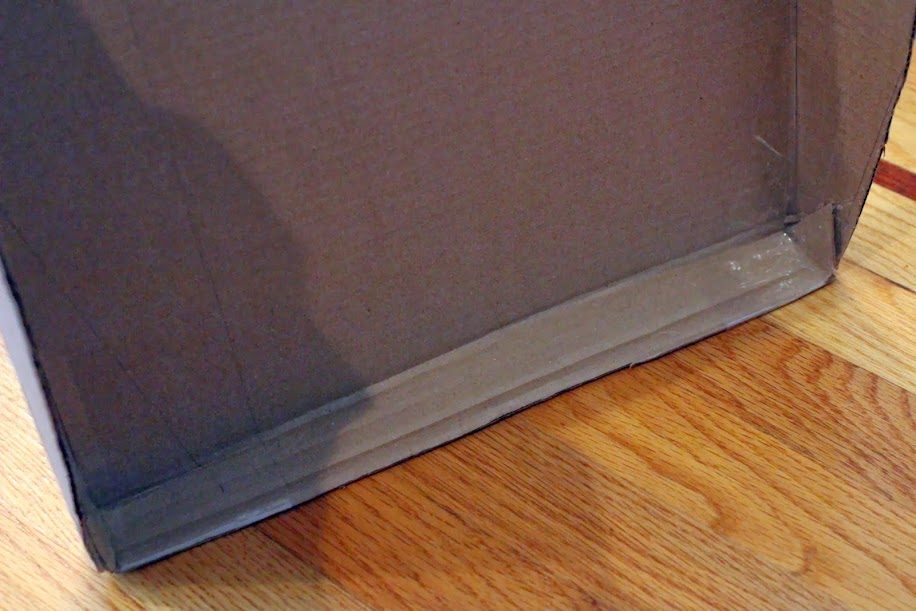
You should now be able to tape up the corners of the hay rack to keep it in shape. Make sure to tape everything securely so that no hay will get in.
After everything is trimmed, folded, and taped, you should now have a complete cardboard hay rack back.
- The next step is to poke holes to tie your grate onto the sides. The following picture shows where I marked the holes to poke.
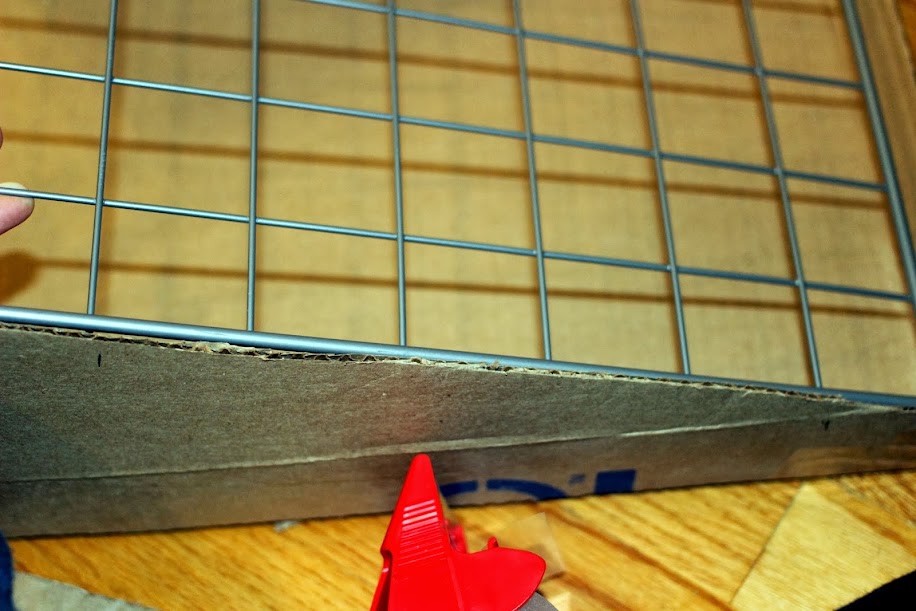
I designated my tie spots as below the second bottom bar and below the second top bar of the grate, after giving about 1″ clearance from the bottom edge. After my first iteration of the hay rack, I realized that leaving that extra clearance allows hay bits that the rabbits don’t eat to fall out and into the litter box. If you leave the grate flush against the bottom edge, the hay bits get trapped behind the grate and will pile up. As a result, you will need to manually grab and dump them out every so often instead.
Additionally, you want to tie the grate to the cardboard below the horizontal bars as when you install the hay rack, the grate will naturally slide downwards due to gravity. If you tie the grate above the horizontal bars, the grate will naturally slip down and ruin the clearance gap.
After you have poked the tie holes in the cardboard, reinforce them with tape to reduce the tearing of cardboard due to the weight of the grate.

- Now, time to thread your tying material through! It should be easier with less flexible cable ties, but for string, use your scissors to push it through the small holes like so:
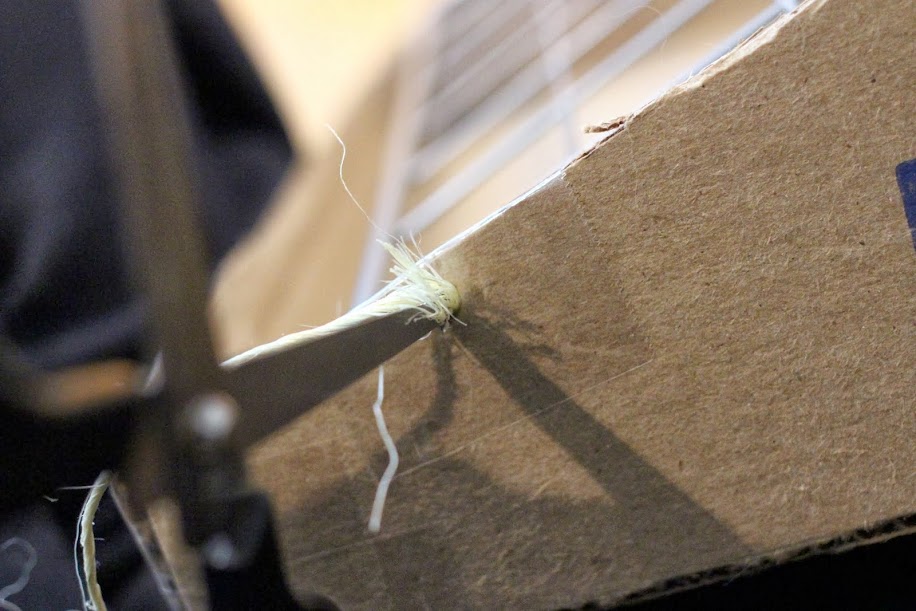
A view from the top:
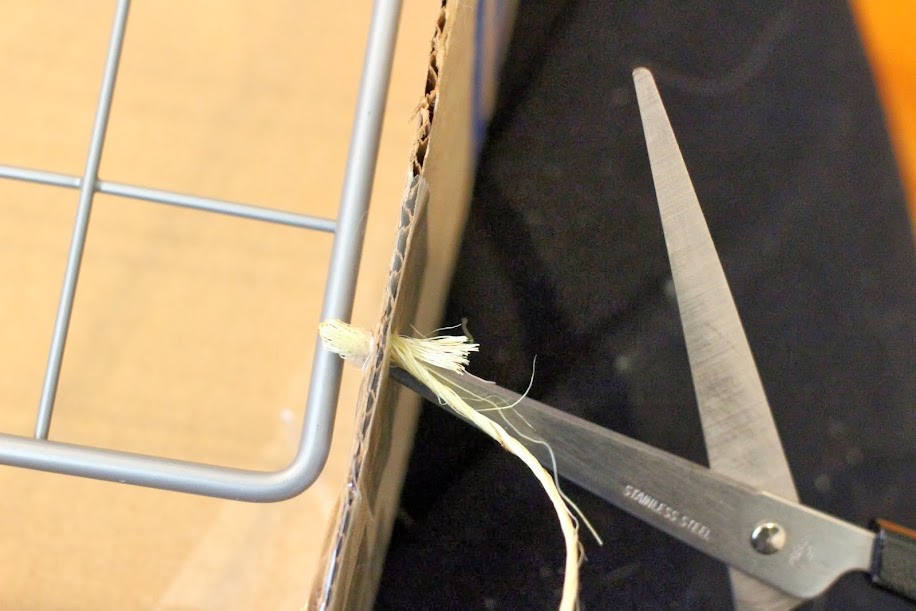
I highly suggest cutting more string than necessary to tie the grate since pushing the string through the holes with the scissors and pulling it through will unravel the ends slightly. Cut off any extraneous string to reduce chewing of the ties.
At this point, you should now have a recognizable completed hay rack!
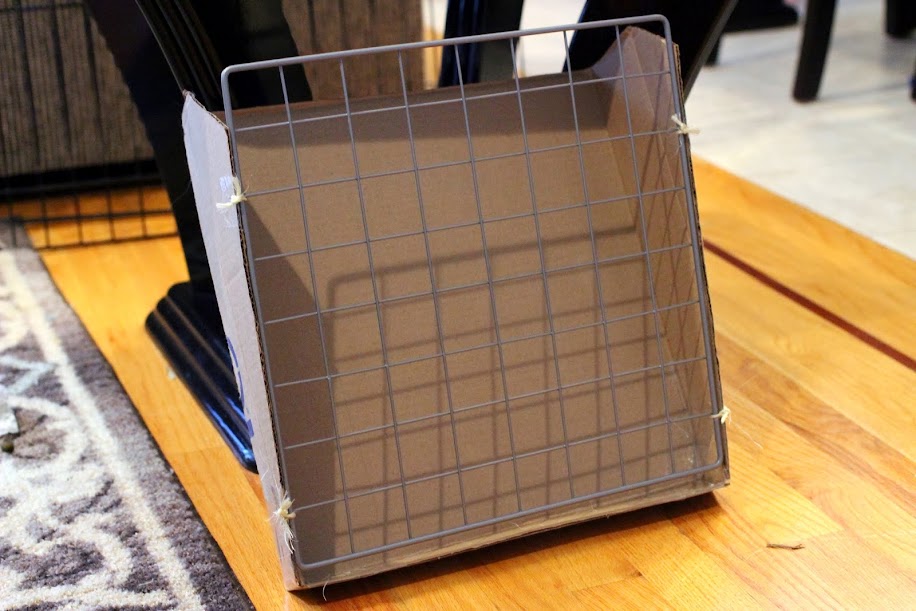
- The last step is to poke and tie two more holes along the top edge of the rack in order to hang it from your xpen. No need to measure, but make them somewhat close to the ends so your rack won’t be tilted if your rabbit nudges it.
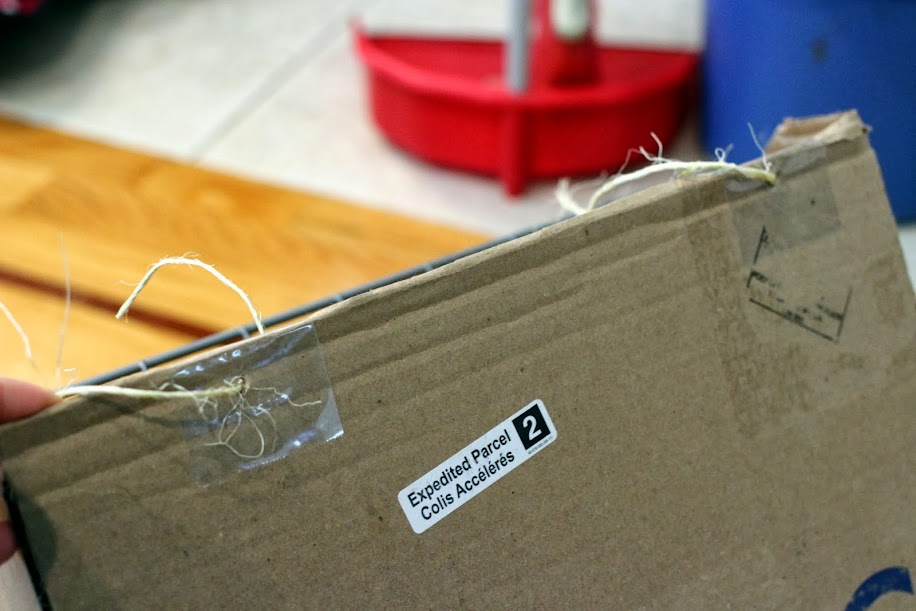
Remember to reinforce the holes with tape.
After everything is all assembled and hung with hay stuffed in, it should look like the original top preview picture:
Happy DIYing!

Squishy eating from his new hay rack!
How to Get Your Rabbit to Eat Hay – Bunny Mom Life
August 31, 2020 @ 5:17 am
[…] http://codeofalice.com/zoo/bunnies/diy-hay-rack/ […]
Can you potty train a rabbit? - TwoBun
March 25, 2022 @ 3:03 am
[…] Bunny DIY Hay Rack […]